View Overview A View is a list of records that serves as the main way of looking up and accessing records. Every user is able to create Views to show records with different filters and settings applied. This article is an overview of everything you can do with views. To jump to a specific section of this article, click on the link below in table of contents.
What is a View
A View is an easily customizable report that servies as the main way users access and look up records in eAppTrack. Each module has it's own set of views, which means that you have to create views in each module. It is possible, however to display information from related modules in another module's view.
Here is a picture showing what a view looks like with the different items you will see on a view. Below is an explanation of every item.
- Module Name and Icon: The name of the Module you are in is displayed at the top next to the Module Icon
- View Name: Below the Module Name is the View Name. Click the Name to edit the view.
- Add View and Manage Views Buttons: Clicking these buttons will navigate away from this page, and allow you to create a new View or Manage your existing Views.
- View List: This is the list of exisiting Views. Your list can contain several views, each displaying record information differently. The Views you have created will appeal in the list with Views that are published to you. You can manage the order of this list by clicking the Manage Views button.
- Record List: This is your list of records displayed in this view. By default, the system will show 10 records. When there are more in the list, you can click to see the next page or to extend the list.
- Add Record Button: Clicking this will allow you to create a new record in this module. Note, there may be modules in which you are not able to create new records. In these modules, the button will not be there.
- Select All Button, and Actions Drop Down: Clicking the check box here will select all the records in the view. You can then click the drop down menu and chose what action you would like to take. You can Mass Update, Reassign, or Delete records.
- Edit Buttons: Clicking the pencil icon will open the record in edit mode below the list of records. Clicking the pencil and paper icon will open the record in open button in a new page.
- Column Headers and Search Icon: The column headers are fields from your records. You can sort the view by that field by clicking on the column header. Click the magnifying glass icon to sort a view by searching columns for specific values.
- Import and Export: eAppTrack allows you to add/edit records via Imports, and Export records from a view into an Excel Doc. For more information on this, click here.
Create a View
This portion of the article explains how to create a View from scratch. In this example, we are going to create a view that will show us all EC Tours that are past due.
To Create a View:
- First, we will go to the EC Tours Module by clicking the Module Icon at the top of the screen.
- Click Add View
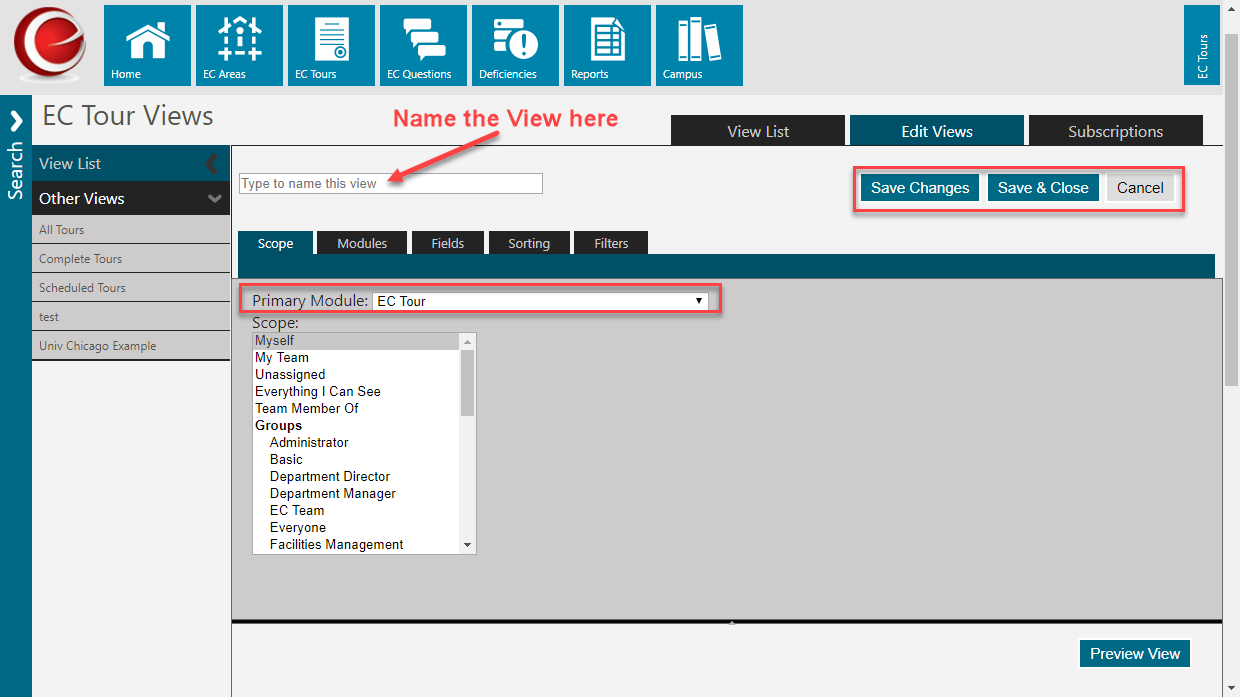
- Here, you will see a few different options. First, you will want to give your new View a Name. Here, we will name it Past Due Tours. Second, the Primary Module, EC Tours is already selected. Third, you will want to save the View by clicking Save Changes.
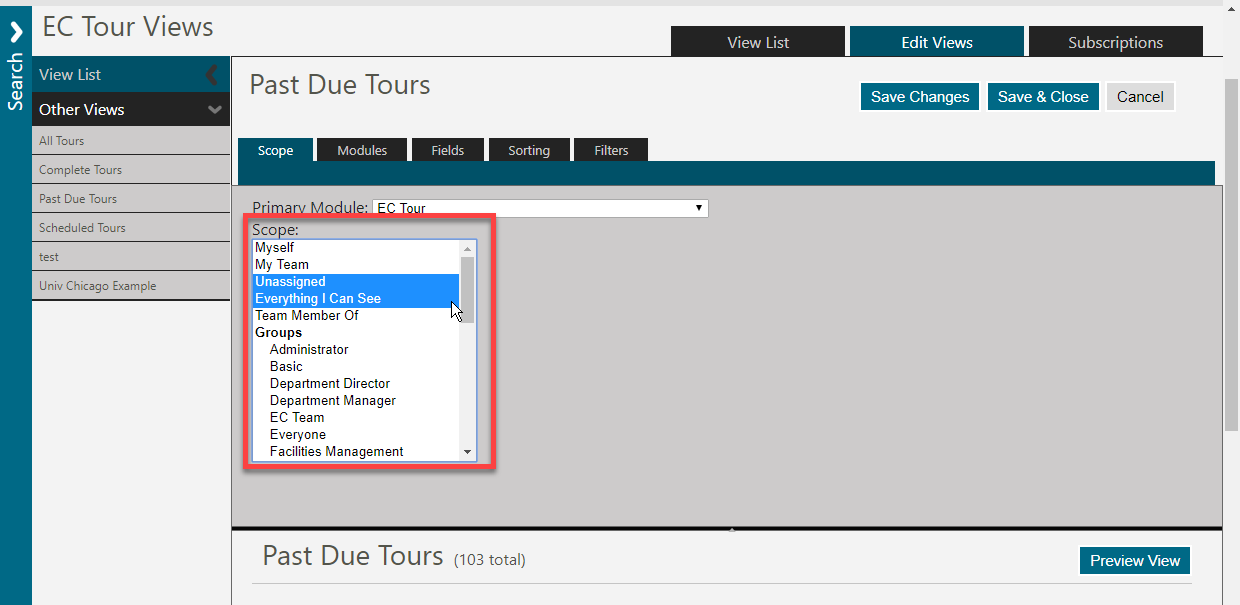
- Next, you need to select the scope of this View. Select multipule options by dragging your cursor over the options, or hold Ctrl on your keyboard while clicking the options. Generally, you will select Unassigned and Everything I Can See.
- Myself: Will show only records that you are Record Owner of.
- My Team: In some modules, there will be a team member tab. Selecting this option will show you records owned by people you're on that list with.
- Unassigned: Will show records that do not have a record owner.
- Everything I Can See: Will show you everything you have permission to see.
- Team Member Of: Must be selected with another option. Will show records owned by team members of that user.
- Groups: Will show records owned by users in a specfic group.
- People: Allows you to show records owned by a specific user.
- Reference Fields: Allows you to see records owned by users designated on records from related modules.
- Select your fields and modules. Under the Modules tab, you will see the EC Tour table. Scroll through this menu and check the boxes next to the fields that you would like to display in the view.
- Join other tables. It is possible to bring in information from other modules. In this example, we want to show what area the tour is will be in, and who the manager of that area is. Every EC Tour is connected to an Area, so we can join the EC Area table to the EC Tour Table. Select EC Area from the drop down menu below the EC Tour table, then click Add Table. There are two types of joins, you can read more about them by clicking on the question mark icon.
- Arranging fields. Under the Fields tab, you can arrange the order the fields will be displayed in. Click the four dotted lines on a row and drag it up or down. Note, on the rows, under Table, you will see the module the field is coming from.
- Rename fields. You can also rename the coulmn title. Here, I want the Date field to be displayed as Tour Date, so I type that into the field. Click Save Changes to save your selections. If you want specific fields to be clickable, check the box on the right side of the row under Link.
- Sorting options. Under the Sorting tab, you can choose how you want the records to be sorted. Here, we want the list to be sorted with the oldest tour dates at the top. We selected the EC Tour Date field, and Ascending.
- Configure filters. Under the Filters tab, you can decide what information you want to filter out of the view. From the drop downs, select the fields you wish to sort by, select how you would like to sort them then type in a value. Here, we want to see Tours that are Not Complete, and Tours who's Dates are before today (meaning they're past due). See image below to see how this was configured.
- Advanced Report Status. You can chose active or inactive records to display in the View. It is possible to make different selections for different tables. Click Advanced in the top right to display options for each module. This is helpful in situations where a User has been inactivated, but you still want to see their records. You would check both boxes under the Record Owner table.
- Click Save and Close to close this page and see the View.